This week the lesson touches on Color By The Numbers.
Attached to this posting you will find links to a few goodies for you to try out.
The first is a PDF document and an image.
The PDF is a walk through for color correction by the numbers using Curvemeister.
The PDF is here:
www.curvemeister.com/video/greg/color_correction_by_the_numbers.pdf
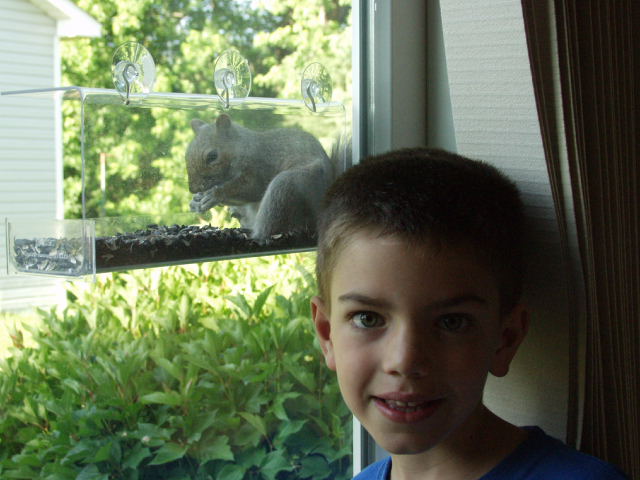
The image is here.
www.curvemeister.com/video/greg/dan_and_friend.JPG
Right Click and "save link as" should download it.
Next on the list is a short video of another color by the numbers correction and the image for you to use.
www.curvemeister.com/video/greg/rgb_btn.swf
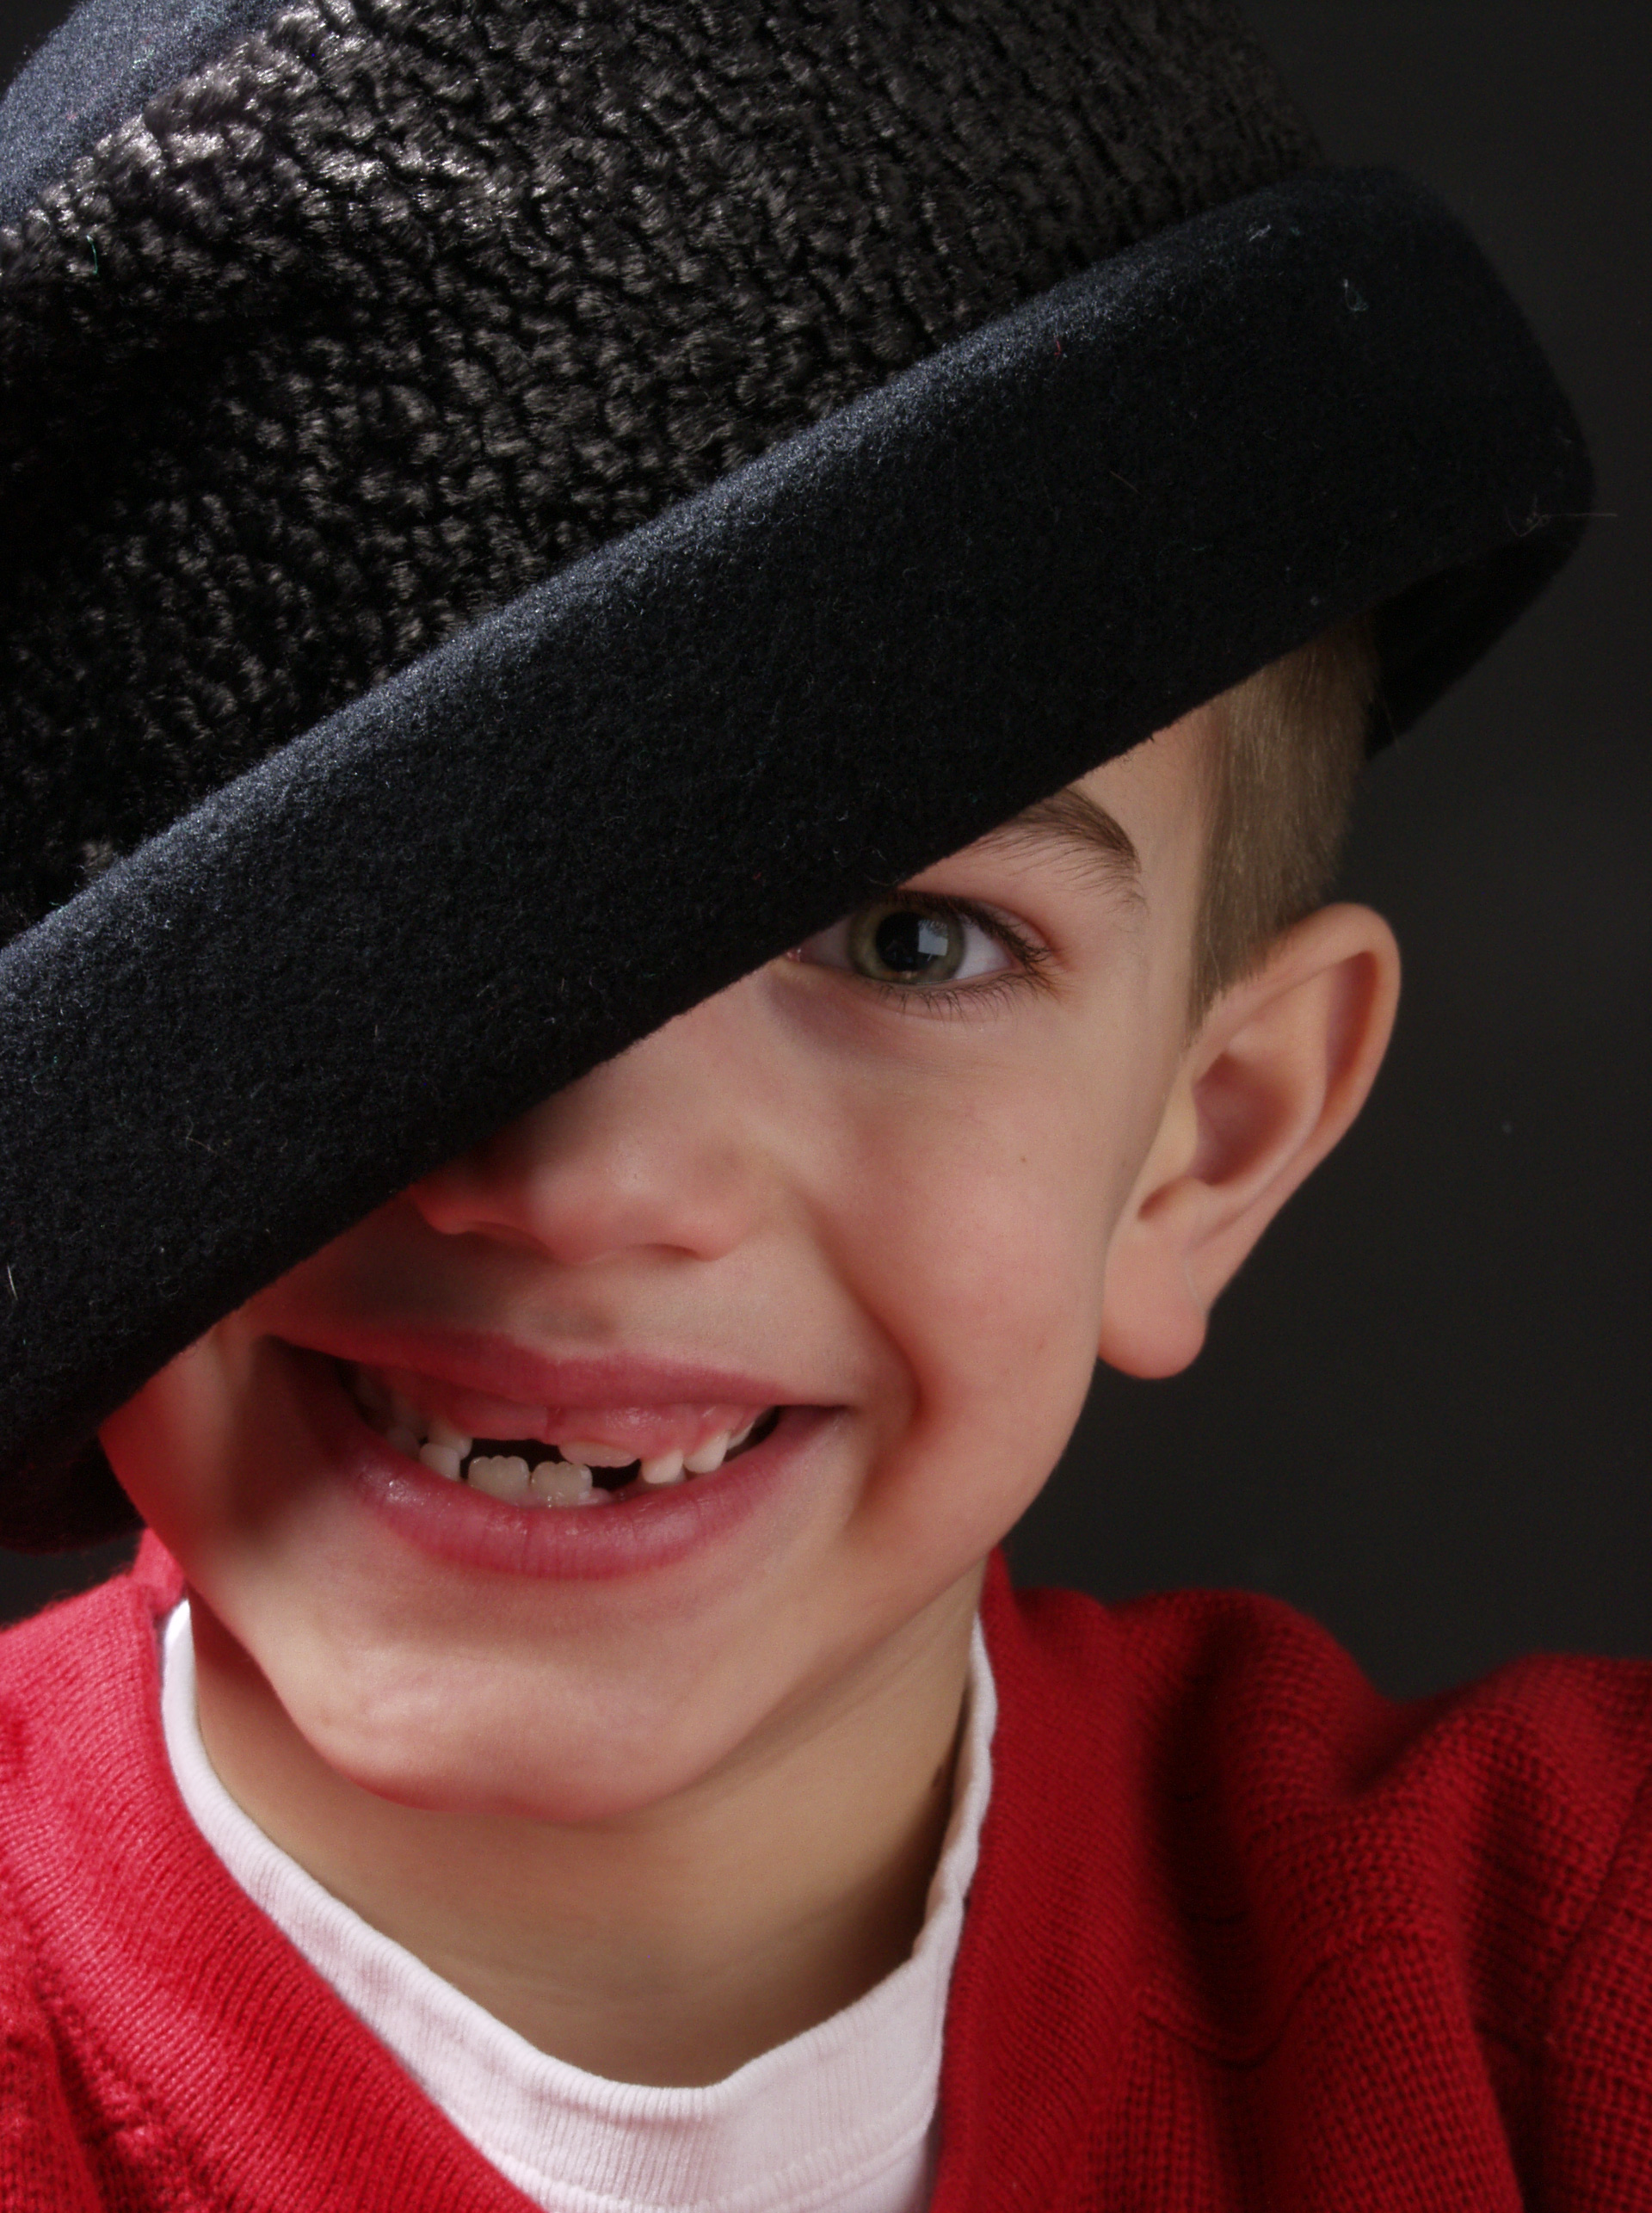
and the image:
www.curvemeister.com/video/greg/Dan-Hat.jpg
Right Click and save link as should download it.
Happy Curving!
Greg
A Curvemeister Look At Color By The Numbers.
-
leeharper_admin
- Posts: 263
- Joined: Tue Aug 20, 2013 2:39 pm
I was puzzling over the curves in Mike's video this morning - why had he chosen to meet his shadow, highlight and neutral target values by creating somewhat arbitrary (at least it seemed that way at the time ;)) interior curve points, rather than simply moving the shadow and highlight endpoints inwards (thus steepening the entire curve), and then setting more precise midpoints for the neutral correction?
I've tried both approaches (see attached image), and I think I've got it. Endpoint moves will make the curve slightly steeper across the whole range, but the interior point correction allows us to make the range that the face inhabits (and other ranges important to the image - the hat, etc) much steeper. So this approach allows us to spend more of our $255 on the important areas of the image, and we can pay for this extra steepness by losing contrast in the areas of the image where nobody will notice.
I think that I'm right ??? - If I am then it's a great strategy!
I thought that I should post my lightbulb moment, as I haven't noticed this distinction between interior and endpoint moves in any of the course materials so far. Please correct me if my understanding of this is incomplete.
Cheers,
Lee.
- Attachments
-
- rgb-video_exercise-jpg (172.01 KiB) Viewed 7547 times
-
- endpointmove_rgb-acv
- (66 Bytes) Downloaded 431 times
-
- mikeinspired_rgb-acv
- (102 Bytes) Downloaded 351 times
That is a very intuitive answer...
My thinking on this was that since I am already clipping the extreme ends of the curve by setting my output levels in the configuration area; I wanted transition the changes being made across the upper and lower ends more evenly and try to effect the quarter tones a bit.
I know it looks arbitrary in the video, but in general I try to choose points close to the values I am adjusting. If I set the hue clock on the image I can see where the "worm" is for that point and work from there.
If I steepen the entire curve I do add color contrast, but the real goals are listed above...
Your spending $255 does enter into it completely... BTW if you clip the outputs it gets to be $247 or so...See shadow target and highlight target values in shot 1
Greg
- Attachments
-
- shot1-jpg-76 (68.5 KiB) Viewed 7547 times
-
mikemeister_admin
- Posts: 4927
- Joined: Fri Sep 20, 2013 8:29 pm
This almost makes sense to me :P Let me see if I can get this straight in my head...
Your shadow and highlight targets mean that - in effect - pinning a shadow and highlight raises and lowers the appropriate endpoints. Therefore the straight line curve is becoming shallower (as you said, you've only really got $247 to spend*). Moving the endpoints inwards to steepen the curve (and hit the target numbers) would mean that you would exceed the shadow and highlight values that you want to set (i.e, your shadow would be set to 0,0,0 rather than 4,4,4 unless you were careful).
Also, you want to steepen the quartertone, so uniformly steepening the curve is not appropriate. I assume that wanting to do this is specific to this image, rather than being a move that you always make?
As to my remark about the interior points being arbitrarily placed, I only meant that in the video when setting the shadow values to 10,10,10, control points are created at ~40. I would have supposed that if a value needed to be moved from 12 to 10 then the input value would have been 12, rather than 40. Still, I did notice - and I think you've confirmed - using interior points allows us to steepen specific ranges to add contrast in important areas.
This is still a bit woolly to me, so if I have misunderstood anything please do let me know.
Cheers,
Lee.
*I assume that this is because you are adjusting your output levels - ink limiting, etc.
You have most of it...
The outputs limit the overall range...If the actual values in the file are 0,0,0 CM converts them to 4,4,4 and anything less that 4,4,4 is also converted. This prevents outputting a file that prints with the shadows completely blocked. or highlights completely blown..
These are my numbers for my process and actual mileage may vary...They do hold up pretty well though. I would test them a few times with whatever output device you are using.
I have found in my work over time that the quarter tones are the weakest link. I can work it from just about any point on the curve but in general I try to start in those areas. If I steepen the entire curve I generally add too much contrast over the entire image. 3 channels all adjusted separately for contrast usually leaves the image in a much worse place...
Arbitrary is not an insult..believe me...I have found that it is less important that I hit a target exact; as it is that my target is in the range and that I spread the adjustment around a bit to make it smoother and less noticeable
The best part of all of this is that once you see it done you can adapt the technique to any work flow you want.
Greg
-
leeharper_admin
- Posts: 263
- Joined: Tue Aug 20, 2013 2:39 pm
If the actual values in the file are 0,0,0 CM converts them to 4,4,4 and anything less that 4,4,4 is also converted.
So, if the values were 2,2,2 would they also be converted to 4,4,4 as in relative colorimetric gamut clipping, or are the values transformed perceptually, so that detail is not lost?
Lee.
-
leeharper_admin
- Posts: 263
- Joined: Tue Aug 20, 2013 2:39 pm
Thanks for your reply Greg,
Is this something that is going to be covered during the course? If not, would you mind expanding on this a little? I'm having trouble picturing what you mean (I'm sure that you're right that once seen it is easy to come to terms with).
That's what I'd expect. It would certainly be easier to program things that way. It would be interesting to know for sure though, if Mike will give you the inside scoop!
I know ;) Sometimes I find it a little difficult in typing to find exactly the right words to express what I want to ask. I'm sure that over Skype I'll find that much easier - it'll be good to chat :)
Thank you for being so generous with your knowledge,
Lee.
3 channels all adjusted separately for contrast usually leaves the image in a much worse place...
Is this something that is going to be covered during the course? If not, would you mind expanding on this a little? I'm having trouble picturing what you mean (I'm sure that you're right that once seen it is easy to come to terms with).
[...] the output back to PS from CM is limited to 4,4,4 anything less than that would get clipped.
That's what I'd expect. It would certainly be easier to program things that way. It would be interesting to know for sure though, if Mike will give you the inside scoop!
Arbitrary is not an insult..
I know ;) Sometimes I find it a little difficult in typing to find exactly the right words to express what I want to ask. I'm sure that over Skype I'll find that much easier - it'll be good to chat :)
Thank you for being so generous with your knowledge,
Lee.
Return to “Curvemeister 101 June 2010”
Who is online
Users browsing this forum: No registered users and 18 guests