 |
|||||||||
| |
|
|
|
|
|
|
|
|
|
Example 6 Solution: Harbor View
![]() There is a video version of this solution.
There is a video version of this solution.
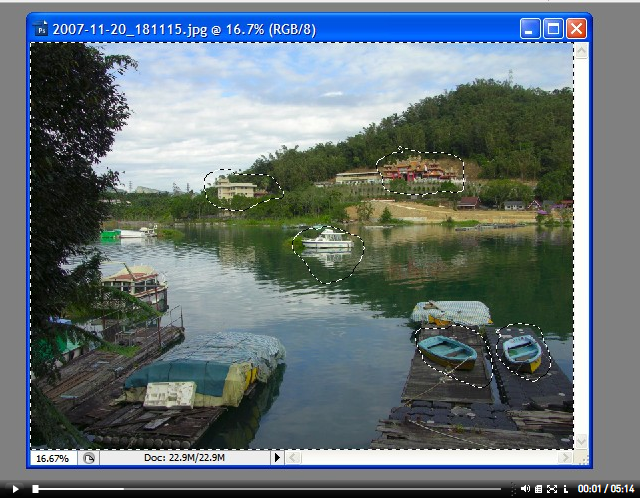
In Photoshop, select the areas you want to preserve, then type ctrl-shift-I to invert the selection.
|
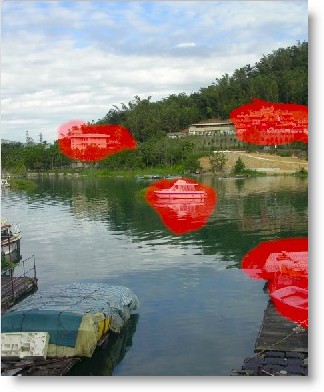
Start Curvemeister, and the areas that were de-selected in Photoshop will be covered with red, as shown on the right. If these areas are clear, and the rest of the image is red, quit Curvemeister and use ctrl-shift-I to invert the selection before starting Curvemeister again. When we did this image in week 4, we had to make a compromise and allow some of the white objects in the image to be darkeled. These ares are protected, and will not be changed by Curvemeister. Using a selection, we can decide what gets darkened, and what does not. |
 |
|
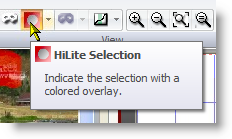
The red transparent mask gets old after a while, and interferes with previewing the image, so I turn this option off in the View tab.
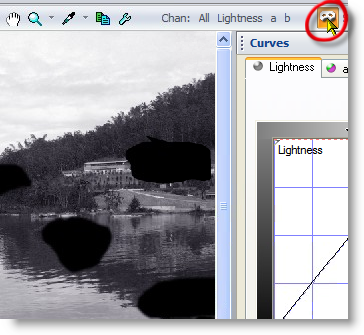
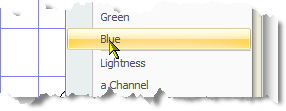
As before, I select the blue channel to use as a mask.
I click on the mask icon (right) in the view tab to see the mask. It shows the de-selected areas as black regions on the mask. |
 |
|
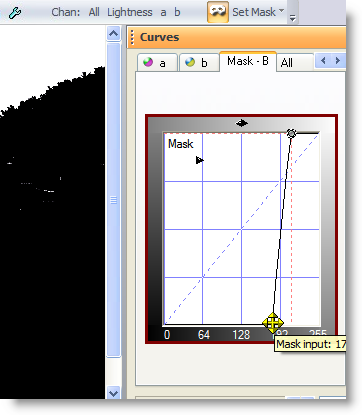
I bump the mask contrast to get as clean a separation between the sky and the rest of the image as possible. |
 |
|
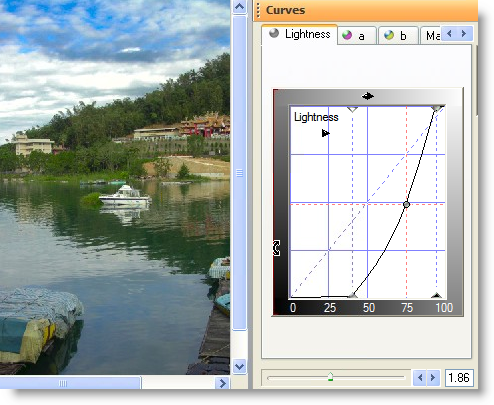
Now that the selection and mask are prepared, we're set. I adjust the Lightness curve to darken the sky and add contrast to the lighter clouds, and move the saturation slider to get more blue color in the sky. Notice that the white boat, and other light objects, have not changed a bit - that's the selection at work. That's all for this example - thanks for watching, and happy curving! |
|
|
 Site designed by Paradox Media |