 |
|||||||||
| |
|
|
|
|
|
|
|
|
|
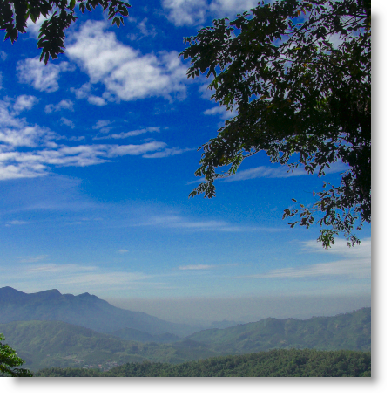
Example 3 Solution: Sun Moon Lake Temple View
![]() There is a video version of this solution.
There is a video version of this solution.
|
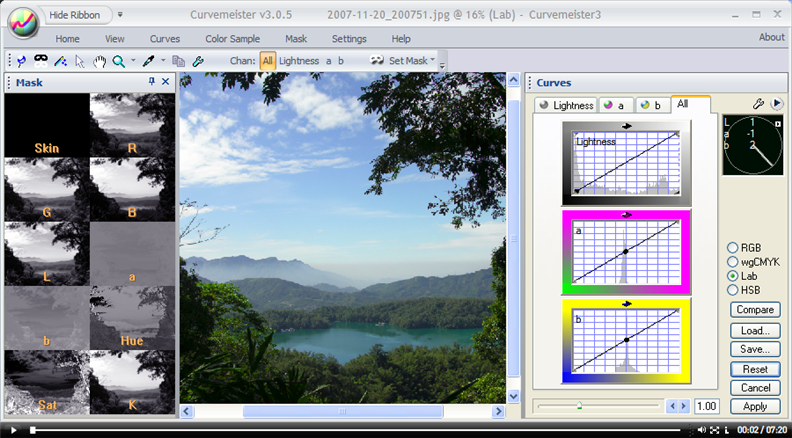
This time, I'm going to do things in a different order. First, I'll. add some drama to the sky, ignoring what happens to the rest of the image. When the sky looks the way I want, I'll go channel surfing, and find the mask that looks the best. There is no particular advantage to this way of working, but you may find that you like this way of working better. On the right, I have darkened the sky, and rotated the a and b curves individually to get more interesting color variation and intensity in the sky. The rest of the image, for the time being, is way too dark, though not really all that bad looking.. |
 |
|
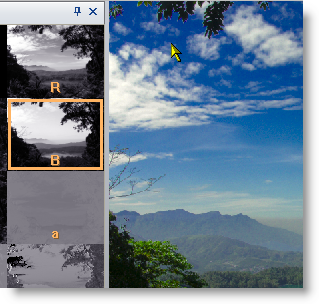
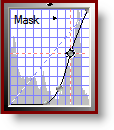
Now, when we go channel surfing, we look at the full color image after clicking on each , instead of the mask. This is what I really like about this method.
In this case, I like the look of the B channel and the K channel, and decide to go with the B channel (right). Note: the most common problem you will run into with the B channel is noise, so be sure to zoom to 100 percent and look for a grain pattern in the mask before making your choice, and look for jagged noise around the areas you are masking for. You may be able to use the blur feature of Curvemeister to minimize the noise. |
 |
|
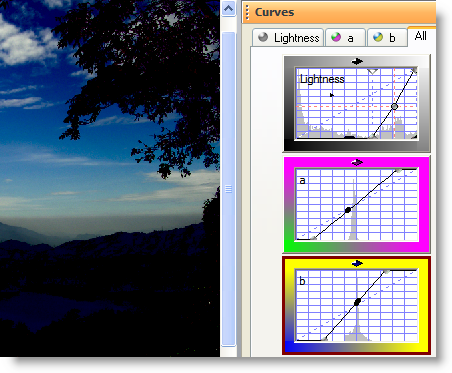
At this point, there is a gray smog-like smudge along the horizon, caused by our color correction efforts. One way to address this problem is to add a little more blue to that area of the sky. This takes the edge off the yellow-ish smog color. Don't go overboard here. Just do enough to take the edge off. |
 |
|
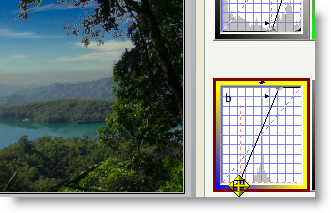
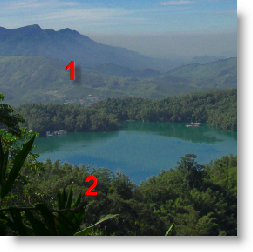
Next on the agenda is to fine tune the mask to allow a little more oomph into the mountains.
As I add detail to the layers of mountains (1) by moving the lower end of the mask curve, a rather strange blue patch (2) starts to appear along the lower left edge of the lake. This is the kind of juggling that is common in this sort of operation. I find a compromise where the blue area on the lake is acceptable, with additional contrast in the mountains.
|
|
|
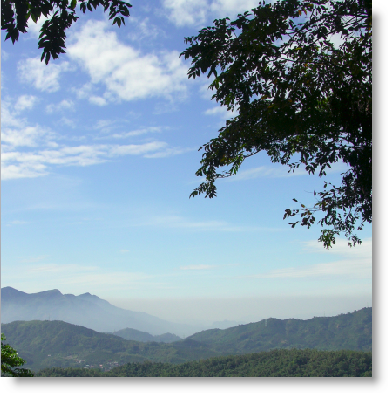
Here are the before and after versions of the image for comparison. Thanks for reading, and happy curving! |
|
 Incidentally, while you are channel surfing, the mask curve stays the same, which saves you the trouble of entering similar curves over and over.
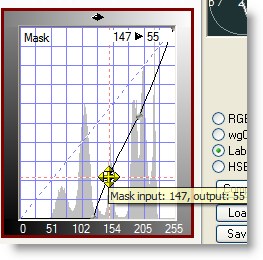
|
 Site designed by Paradox Media |