 |
|||||||||
| |
|
|
|
|
|
|
|
|
|
Example 1 Solution: Contrast Pinning
![]() There is a video version of this solution.
There is a video version of this solution.
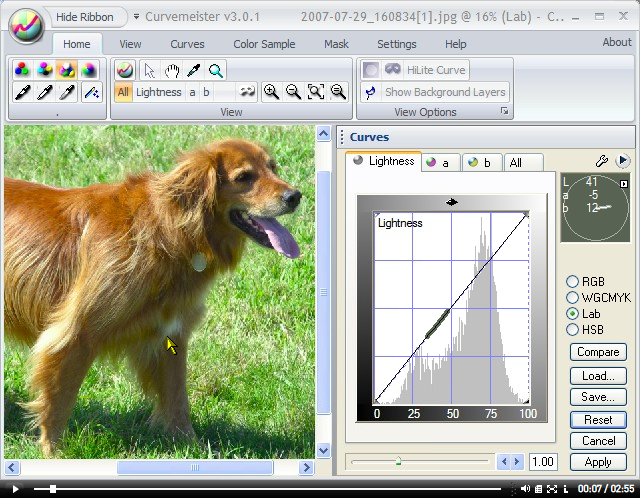
We'll be using the Contrast Pin feature as a convenient short cut to
quickly add contrast to the front of this fine doggie.
|
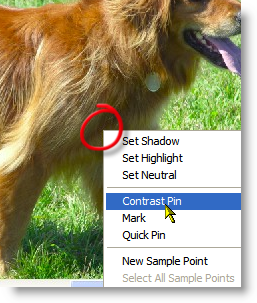
This solution uses Lab mode. Right click the front of the dog, locating an area with a reasonably large color worm on the Lightness curve, and select Contrast Pin.
Voila! A pair of points appears, one on each end of the color worm. These points are selected, and just waiting for you to rotate them. |
 |
|
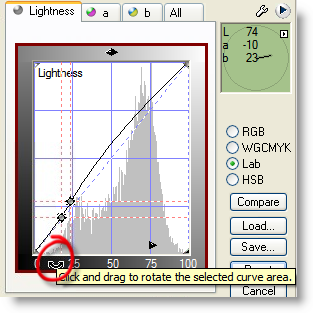
To easily rotate the points, click on any point in the margin (right), and drag the mouse anywhere on the screen. This will rotate the segment of the curve between the two new points, quickly adding contrast to whatever item you right clicked.
|
 |
|
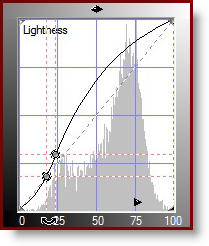
The rotated curve (above) does a good job of bringing out contrast in the dog, but the upper right part of the curve bends upward too much. If and when this happens, it is easily fixed...
|
|
|
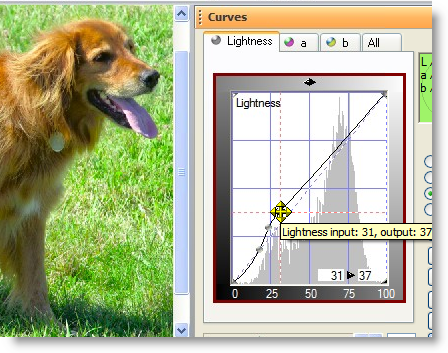
Adding a third point allows you to fine tune the upper two thirds of the curve, bringing it very close to the original diagonal position.
As a final touch, being in Lab mode, we bump the color slider slightly to get a more vivid image. |
|


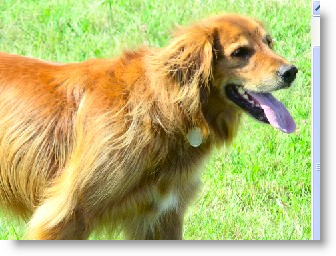

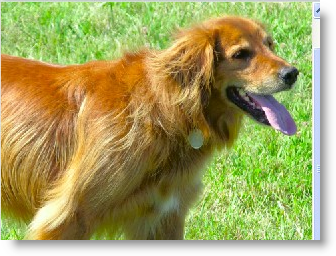
Here are the original and final images for comparison. Note the improvement to the front of the dog. Although the rest of the image has been lightened slightly, it still contains plenty of detail.
That's it for now. Happy curving!.
|
 Site designed by Paradox Media |