 |
|||||||||
| |
|
|
|
|
|
|
|
|
|
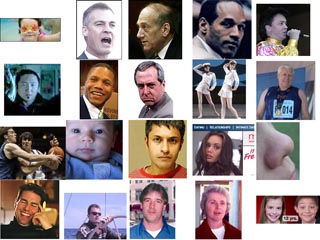
Example 3 Hint (and solution): Skin Tones
![]() There is a video version of this example.
There is a video version of this example.
|
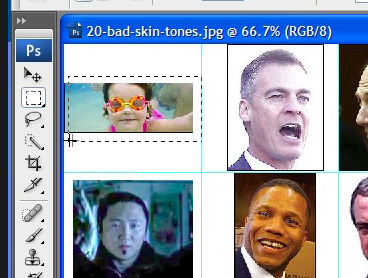
This exercise is designed to help you quickly get your feet wet with a large number of skin tones. The procedure is to create a selection rectangle on each image, then run Curvemeister and drag the Skin 1 pin to a reasonably colorful area of skin, with the goal being to improve the skin tone quickly. Each pass should take you about 10 seconds. In the image on the right, I've used Photoshop's marquee tool to select an image. If you're using Elements, the procedure is the same, only the tools will look a little different.
|
 |
|
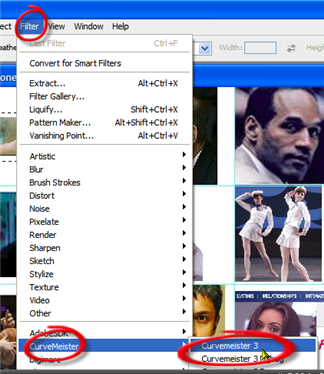
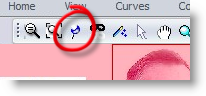
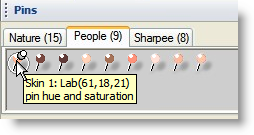
Start Curvemeister in the usual way and click on the pin icon, if necessary, to make the pin palette visible.
You may also click on the pin icon in the Home tab of the ribbon control. |
 |
|
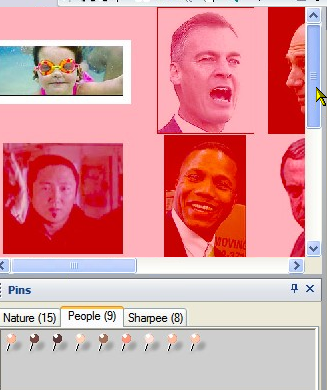
Once inside curvemeister, use the scroll bars to locate the area you selected. The red "frisket" overlay shows which areas are protected from being modified. |
 |
|
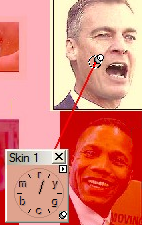
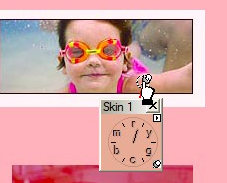
Here we go. Click on the Skin 1 pin,
and drag it to an area of skin tone that is reasonably saturated, and not too bright or dark, as shown on the right. The skin tone will "snap" to match the pin. Normally, other colors will also get better. In this case the goggles, swimsuit, and backtround blue color improve along with the skin tone. |
|
|
Ok, one more for the road! The idea is to get into a rhythmn, where you do one of these every 10 seconds or so. Be sure to fine tune the pin location to get a good result. Experiment with at least Lab and RGB, and you may also find that you like the result in RGB better than in Lab. |
 |
![[original image]](../../images/20-bad-skin-tones.jpg)
That's it for now - happy curving, and pinning!
|
 Site designed by Paradox Media |